Honey Garlic Chicken: Sticky, Simple, 40 Minutes
In This Article
- Why You’ll Love This Honey Garlic Chicken
- Ingredients You’ll Need
- For the Chicken
- For the Honey Garlic Sauce
- Recipe Timing
- How to Make Honey Garlic Chicken: Step by Step
- Common Mistakes to Avoid
- Variations and Substitutions
- What to Serve With Honey Garlic Chicken
- Storage, Reheating and Make-Ahead
- Nutrition Information
- Frequently Asked Questions
- Honey Garlic Chicken: Recipe Card
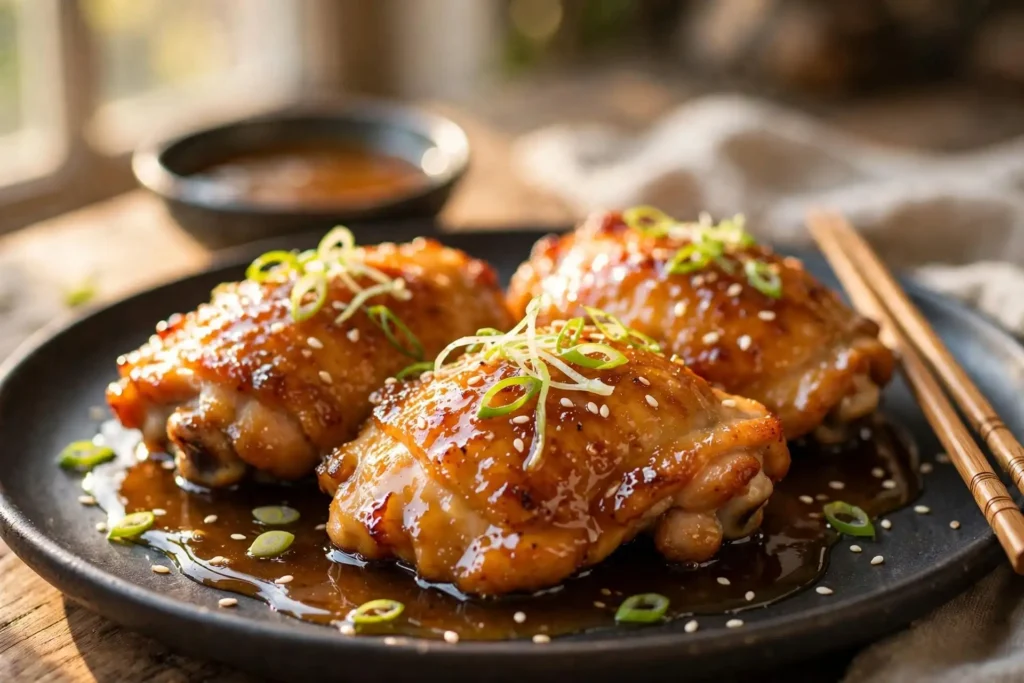
Honey garlic chicken works because the sauce builds itself in the same pan as the sear. The rendered chicken fat picks up the browned bits, the garlic blooms in that fat, and the honey-soy glaze reduces right over it. Nothing needs a separate pot or an extra step.
This version uses bone-in, skin-on thighs. The skin renders to crispy during the sear and gives you a buffer if the cook time runs slightly long. Breast meat has no such margin. Six ingredients, one pan, 40 minutes from seasoning to the table.
Why You’ll Love This Honey Garlic Chicken
- The sauce caramelizes directly in the pan, picking up flavor from the browned bits left by the sear
- Bone-in thighs stay juicy even if the cook time extends by a few minutes — breast meat dries out fast past 75°C
- Apple cider vinegar in the glaze prevents the sweetness from going flat and one-dimensional
- A cornstarch slurry thickens the sauce in under two minutes without a long reduction
- The rendered chicken fat doubles as the cooking base for the garlic, so no flavor goes to waste
Ingredients You’ll Need
For the Chicken
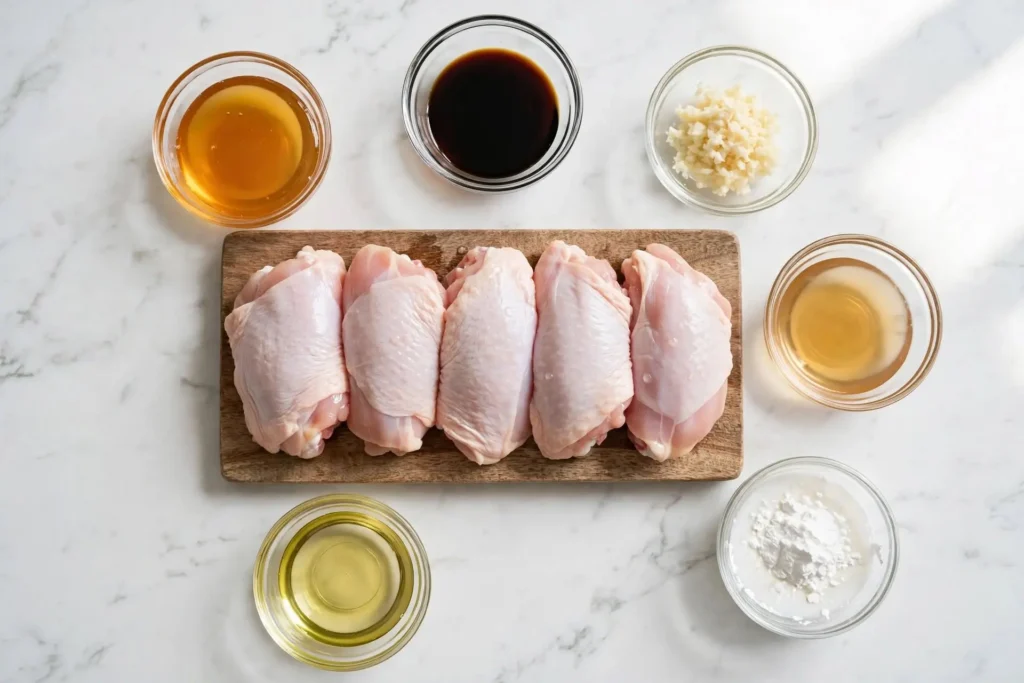
- 4 bone-in, skin-on chicken thighs (approximately 900g / 2 lbs total)
Skin-on thighs render fat that becomes the cooking base for the garlic sauce and keep the meat moist over longer cook times. - 1 tsp fine sea salt
- ½ tsp freshly ground black pepper
- 1 tbsp neutral oil (sunflower or avocado oil)
High smoke point oils handle the initial sear without burning before the chicken has time to brown.
For the Honey Garlic Sauce
- 4 large garlic cloves, minced
Fresh garlic only. Pre-minced jarred garlic lacks the sharpness this glaze depends on. - 4 tbsp raw honey
Raw honey caramelizes faster than processed and adds a slightly floral quality. Dark honey gives a more robust result. - 3 tbsp low-sodium soy sauce
Low-sodium keeps the salt level manageable as the sauce reduces and concentrates. - 1 tbsp apple cider vinegar
Cuts through the sweetness so the glaze tastes balanced rather than sugary. - 1 tsp cornstarch mixed with 1 tbsp cold water (cornstarch slurry)
Thickens the sauce quickly without any floury aftertaste.
Optional garnish: thinly sliced spring onions, white sesame seeds
Recipe Timing
| Timing Element | Duration |
| Prep Time | 10 minutes |
| Cook Time | 25 minutes |
| Rest Time | 5 minutes |
| Total Time | 40 minutes |
Servings: 4 | Difficulty: Easy | Cuisine: Asian-inspired | Course: Main
How to Make Honey Garlic Chicken: Step by Step
Step 1: Season the chicken
Pat the chicken thighs completely dry with paper towels on all sides. Season both sides evenly with salt and pepper. Dry skin is the difference between a proper sear and pale, steamed skin that will not hold a glaze.
⚠️ Food Safety: Use a dedicated cutting board for raw chicken and wash hands thoroughly before touching any other surface or ingredient.
Step 2: Sear the chicken skin-side down
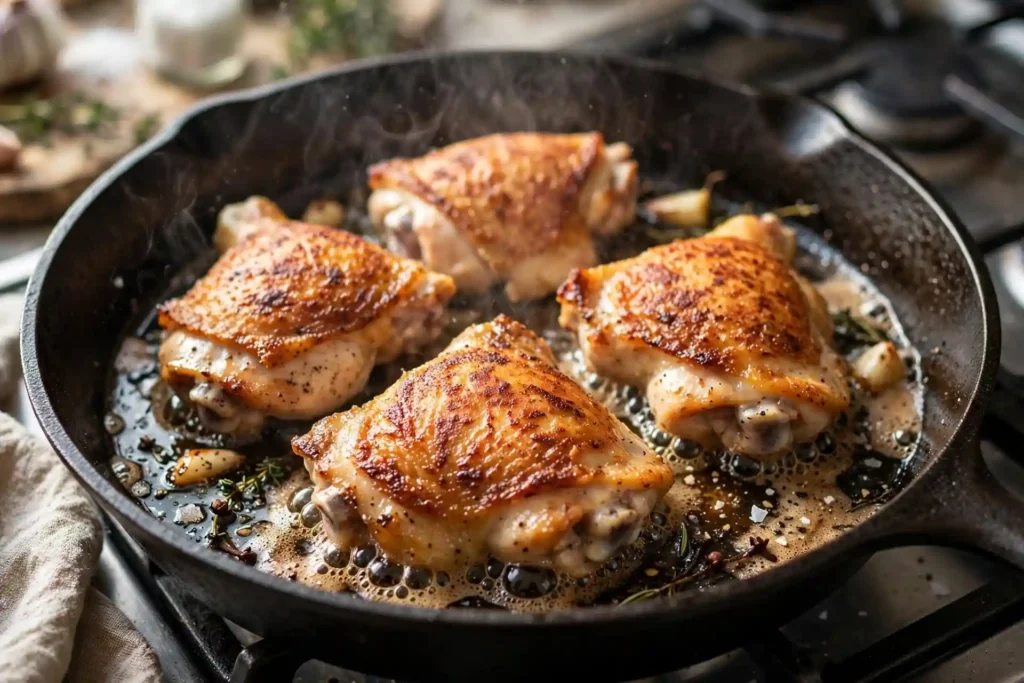
Heat the oil in a large skillet or cast iron pan over medium-high heat until it shimmers. Place the chicken thighs skin-side down. Do not press them, do not move them. Cook for 8 minutes until the skin is deep golden-brown and releases cleanly from the pan on its own.
Why this works: Keeping the chicken still allows the Maillard reaction to develop fully across the skin surface. That browned crust is where the depth of flavor comes from, and it only forms without interference.
Step 3: Flip and cook the flesh side
Flip the thighs and cook for 5 more minutes on the flesh side. At this point the internal temperature should read 65°C to 70°C (150°F to 158°F). The chicken finishes cooking in the sauce.
⚠️ Food Safety: Chicken is safe to eat only when the thickest part reaches 75°C (165°F) on a probe thermometer. Check before serving.
Step 4: Build the garlic base
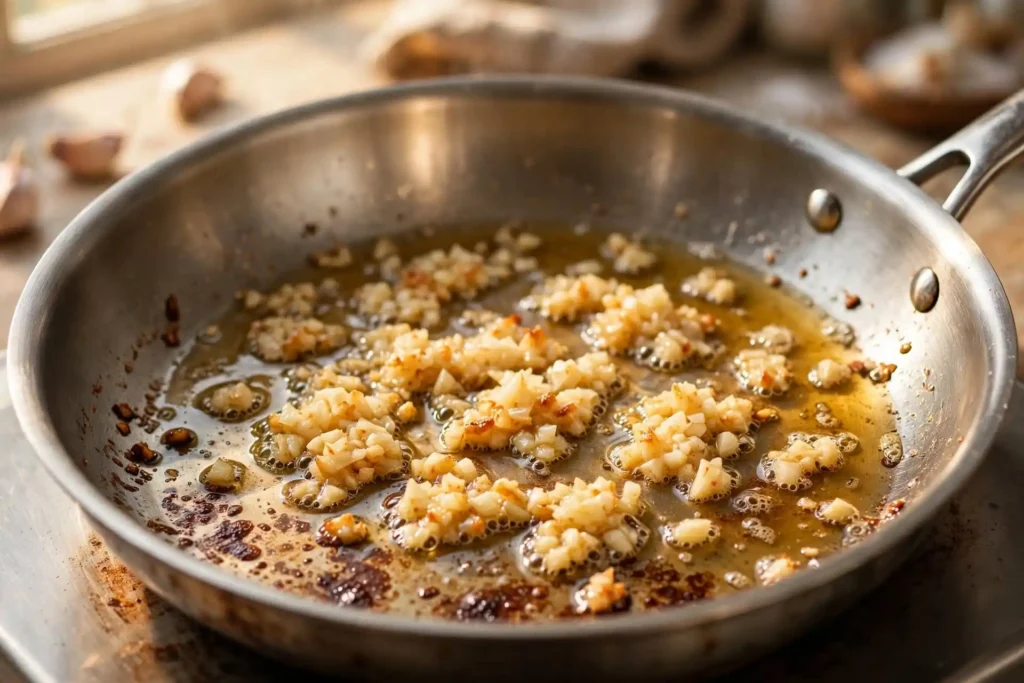
Transfer the chicken to a plate. Pour off all but 1 tablespoon of the rendered fat, leaving the browned bits (fond) in the pan. Reduce heat to medium. Add the minced garlic and stir constantly for 60 to 90 seconds until fragrant and just turning golden at the edges.
Why this works: Cooking garlic in the rendered fat dissolves all the flavor from those browned bits. This step is the entire flavor foundation of the sauce.
Step 5: Add the sauce
Pour in the honey, soy sauce, and apple cider vinegar. Stir to combine. Bring to a steady simmer over medium heat and cook for 2 minutes until the sauce reduces slightly and small bubbles appear across the whole surface.
Step 6: Return the chicken and glaze
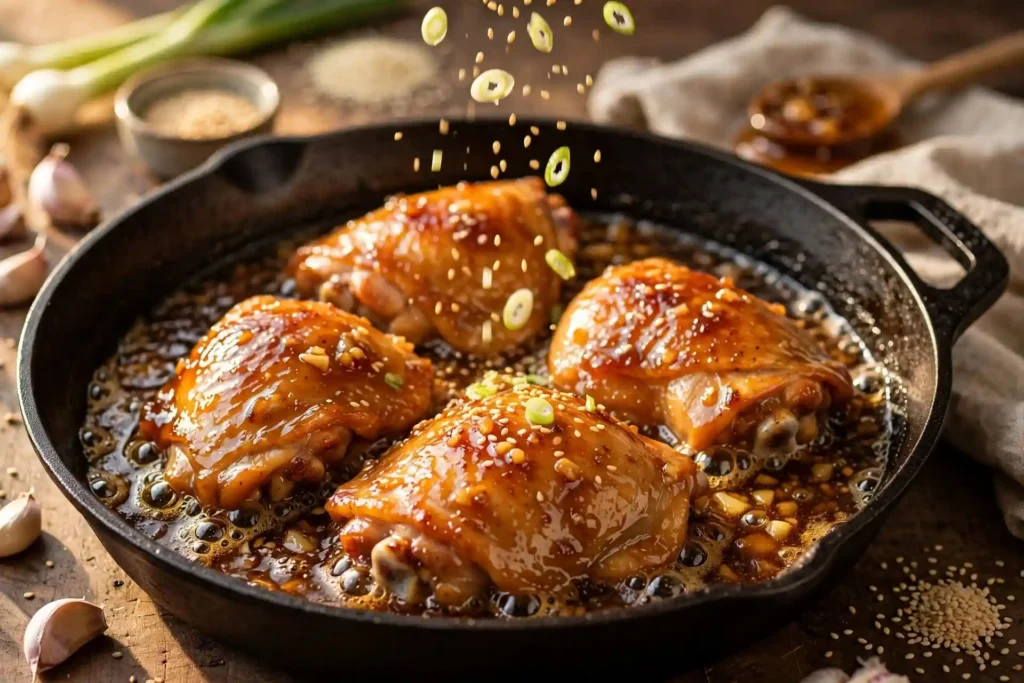
Nestle the chicken back into the pan, skin-side up. Pour the cornstarch slurry into the sauce around (not over) the chicken and stir gently. Cook for 6 to 8 minutes over medium heat, basting the chicken with the sauce every 2 minutes, until the sauce coats the back of a spoon and the internal temperature of the chicken reaches 75°C (165°F).
Why this works: Basting in passes builds the glaze in layers. Each coat adds a slightly thicker film to the skin, which is what produces the lacquered finish on the finished dish.
Step 7: Rest before serving
Remove the pan from heat. Let the chicken rest for 5 minutes before moving it. Scatter spring onions and sesame seeds over the top just before serving.
Common Mistakes to Avoid
Skipping the pat-dry step
Moisture on the skin steams the chicken instead of searing it. The result is pale, soft skin that does not hold the glaze. Thirty seconds with a paper towel on each piece prevents this entirely.
Moving the chicken during the sear
Every time you shift the chicken, you break the contact needed for browning. If it sticks when you try to flip, it has not finished searing. A properly browned thigh releases from the pan on its own.
Adding garlic when the pan is still on high heat
Garlic burns in under 90 seconds at high heat. Reduce to medium before it goes in, stir constantly, and pull it off the heat if it starts coloring too fast. Burnt garlic makes the sauce bitter and cannot be corrected.
Bringing the sauce to a rolling boil
Honey scorches quickly. Keep the sauce at a steady medium simmer, which means small active bubbles rather than a full boil. If the edges darken too fast, add a tablespoon of water and reduce the heat slightly.
Variations and Substitutions
Chicken breast instead of thighs
Boneless, skinless breasts cook faster and have almost no margin for overcooking. Sear 5 to 6 minutes per side and check the temperature early. Pull them as soon as they hit 75°C (165°F) since they dry out quickly past that point.
Maple syrup instead of honey
Pure maple syrup substitutes 1:1 for honey and gives the glaze a slightly earthier quality. Expect 1 to 2 extra minutes of sauce reduction time since maple syrup contains more water than honey.
Gluten-free version
Replace the soy sauce with tamari or certified gluten-free coconut aminos in the same amount. No other changes needed in this honey garlic chicken recipe.
What to Serve With Honey Garlic Chicken
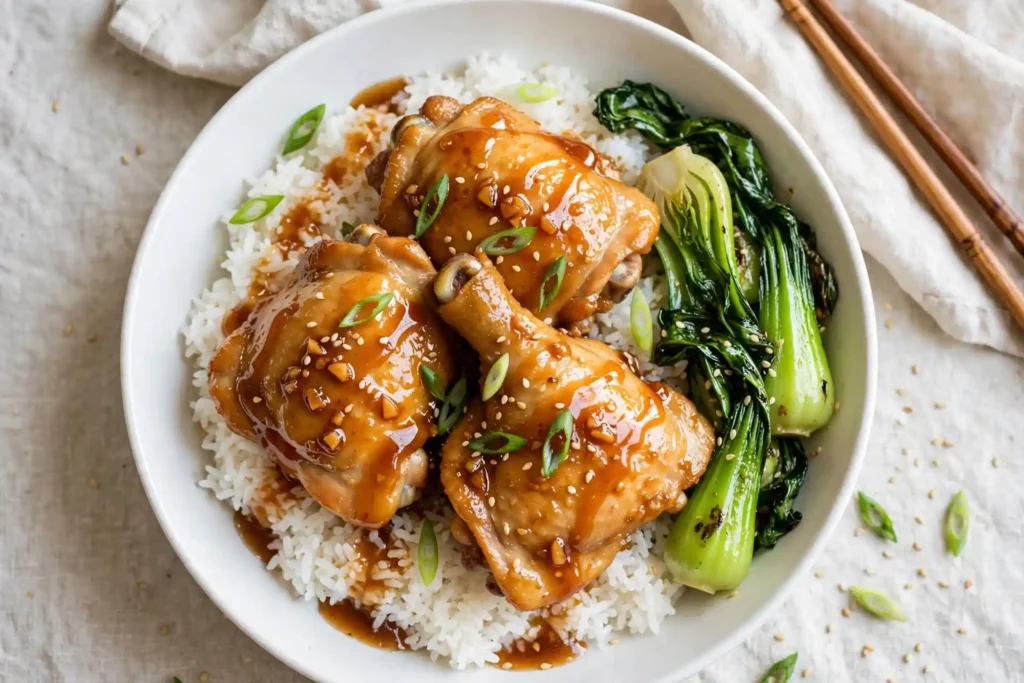
- Steamed jasmine rice — the neutral base soaks up every drop of the glaze without competing with it. [INTERNAL LINK: “how to cook jasmine rice” → rice cooking guide]
- Stir-fried bok choy — slight bitterness from the greens balances the sweetness of the honey glaze.
- Rice noodles — tossed lightly in sesame oil, they make a fast base that works well under the chicken and extra sauce.
- Roasted broccoli — charred florets hold up against a strong glaze and add texture contrast on the plate.
- Quick cucumber salad — a soy-vinegar-sesame cucumber salad cuts through the richness between bites.
Storage, Reheating and Make-Ahead
Fridge
Store cooled chicken in an airtight container for up to 3 days. Keep the sauce in the same container so the meat stays moist.
Freezer
Freeze in a sealed container for up to 2 months. Thaw overnight in the fridge. Do not thaw at room temperature.
Reheating
Reheat leftover honey garlic chicken in a skillet over medium-low heat with 2 tablespoons of water added to the pan. Cover for the first 3 minutes, then uncover for 2 minutes so the sauce tightens back up. Confirm the internal temperature reaches 75°C (165°F) before serving.
Make-Ahead
Mix the sauce ingredients (honey, soy sauce, apple cider vinegar) up to 3 days ahead and refrigerate in a sealed jar. Mince the garlic the morning of cooking. Season and sear the chicken fresh — that part takes 15 minutes and is worth doing right before serving.
Nutrition Information
Per serving (1 bone-in thigh with sauce):
| Nutrient | Per Serving |
| Calories | 385 kcal |
| Protein | 29 g |
| Total Carbohydrates | 22 g |
| Dietary Fiber | 0 g |
| Total Sugars | 19 g |
| Total Fat | 19 g |
| Saturated Fat | 5 g |
| Sodium | 680 mg |
| Cholesterol | 145 mg |
| Potassium | 310 mg |
“Nutritional values are estimates only and may vary based on specific ingredients, brands, and portion sizes used. For precise dietary needs, consult a registered dietitian.”
Allergen note: Contains soy and gluten (standard soy sauce contains wheat). To make this gluten-free, substitute the soy sauce with tamari or certified gluten-free coconut aminos in equal amounts.
Frequently Asked Questions
Can I use boneless chicken thighs for this recipe?
Yes. Boneless, skinless thighs cook faster — reduce the initial sear to 5 to 6 minutes per side. The glaze clings better to skin-on pieces, but boneless thighs absorb more sauce directly into the meat, which many people prefer for a different texture result.
Why is my honey garlic sauce not thickening?
The most common cause is adding the cornstarch slurry when the sauce is not at a full simmer. Cornstarch needs heat to activate. Make sure the sauce is actively bubbling, add the slurry, and stir immediately. If it still does not thicken after 60 seconds, mix a second slurry of half a teaspoon of cornstarch with one teaspoon of cold water and stir that in.
Can I bake honey garlic chicken instead of using the stovetop?
Yes. Sear the chicken skin-side down in an oven-safe skillet for 6 minutes, flip, pour the combined sauce ingredients over, and bake at 200°C (400°F) for 20 to 22 minutes until the internal temperature hits 75°C (165°F). Skip the cornstarch slurry when baking — the sauce thickens naturally in the oven.
How do I stop the honey from burning?
Keep the heat at medium once the sauce is in the pan. If the edges start going very dark before the sauce has thickened, add a tablespoon of water and reduce the heat. Honey has a lower burning point than most sugars and will scorch fast in a dry, hot pan.
How long does honey garlic chicken keep in the fridge?
Up to 3 days in a sealed container. The sauce thickens as it cools. When reheating, add a splash of water to loosen it back to the right consistency.
Can I make this recipe gluten-free?
Swap the soy sauce for tamari or certified gluten-free coconut aminos in the same quantity. Everything else in the recipe is naturally gluten-free.
What is the best pan for this recipe?
Cast iron or stainless steel gives the best sear and the most fond. Non-stick pans work but develop less browned bits on the bottom, which means less flavor in the sauce.
Conclusion
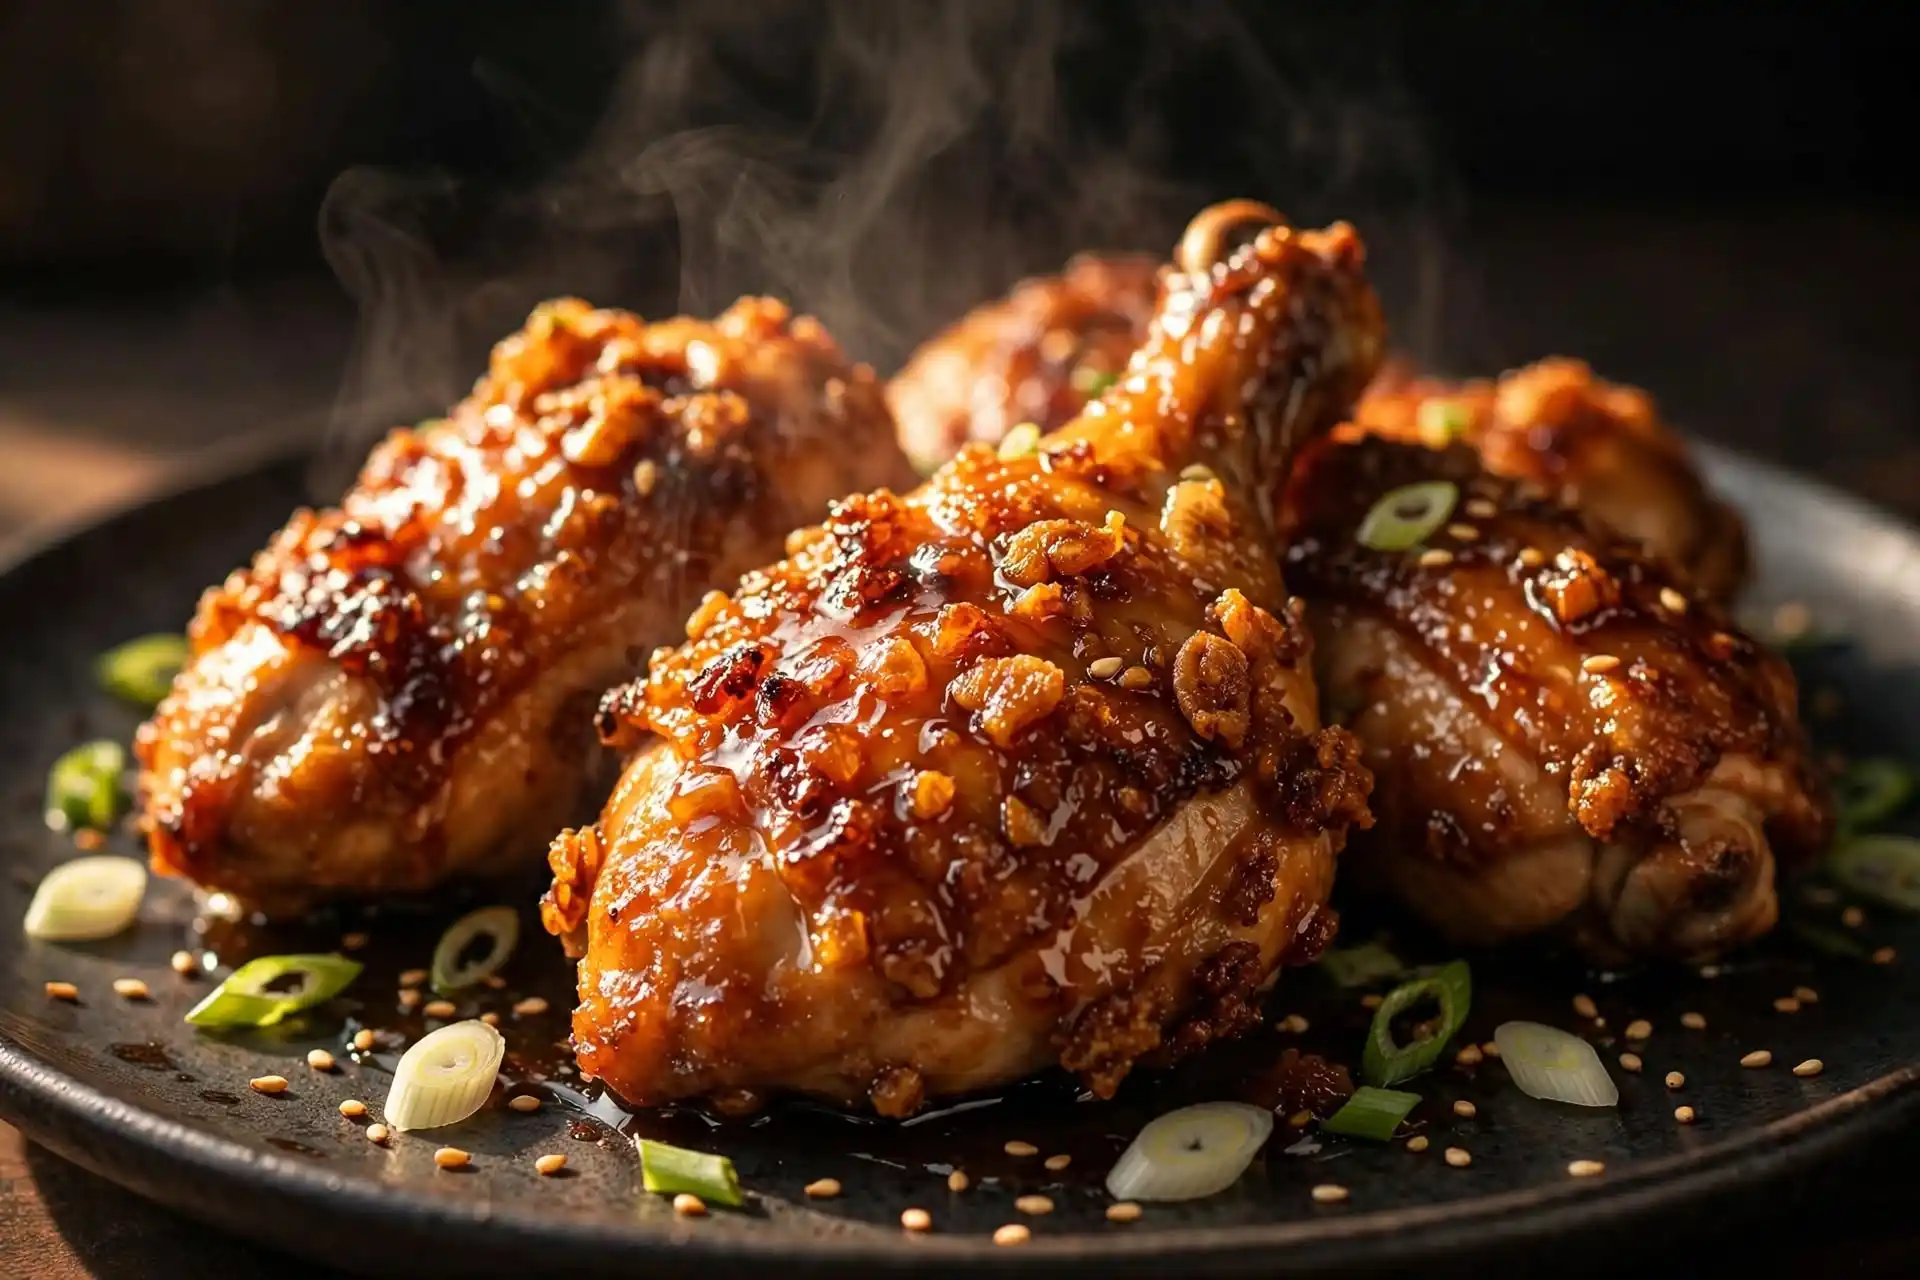
Honey garlic chicken earns its place in the regular rotation because the sauce is built entirely from what is already in the pan. Get the sear right, watch the garlic at medium heat, and baste the chicken every couple of minutes once the sauce is in. Those three things are what separate a glossy, caramelized glaze from a thin, sweet liquid that slides off the skin. Use bone-in thighs the first time — the skin gives you time and forgiveness that boneless pieces do not. If the sauce thickens too much before serving, a tablespoon of water brings it right back.
Honey Garlic Chicken
Ingredients
Method
- Pat chicken thighs completely dry. Season both sides with salt and pepper.
- Heat oil in a large skillet over medium-high heat. Place chicken skin-side down. Cook 8 minutes without moving until the skin is deep golden-brown and releases from the pan on its own.
- Flip and cook 5 more minutes on the flesh side. Transfer to a plate.
- Reduce heat to medium. Pour off all but 1 tbsp of fat. Add garlic and stir constantly for 60 to 90 seconds until fragrant.
- Add honey, soy sauce, and apple cider vinegar. Stir and simmer for 2 minutes.
- Return chicken to the pan, skin-side up. Add the cornstarch slurry to the sauce around the chicken. Baste every 2 minutes and cook 6 to 8 minutes until the sauce thickens and internal temperature reaches 75°C (165°F).
- Remove from heat. Rest 5 minutes. Garnish with spring onions and sesame seeds.